The plan for the first ScubaPi involved a Raspberry Pi, an LCD display, a Pi camera, and the Adafruit 10 degree of freedom sensor (10DOF).
LCD Display: Adafruit RGB Positive 16×2 LCD+Keypad kit

Raspberry Pi with Adafruit RGB LCD display
10DOF: Adafruit 10-DOF IMU Breakout – L3GD20H + LSM303 + BMP180
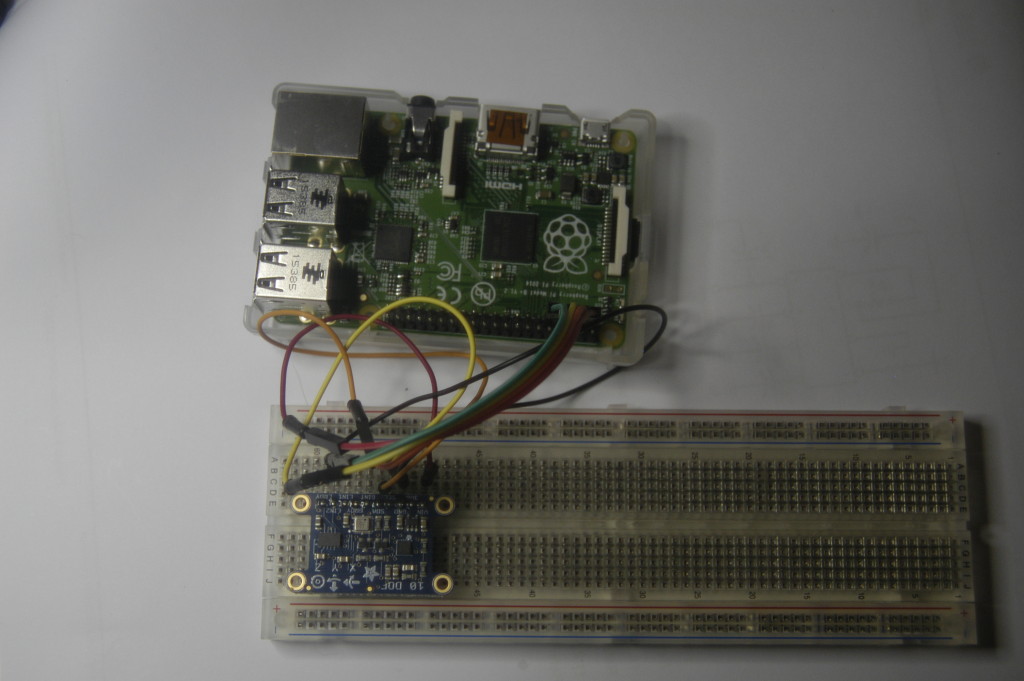
Testing the Raspberry Pi with Adafruit 10-DOF IMU
Camera: 5MP Raspberry Pi Camera board
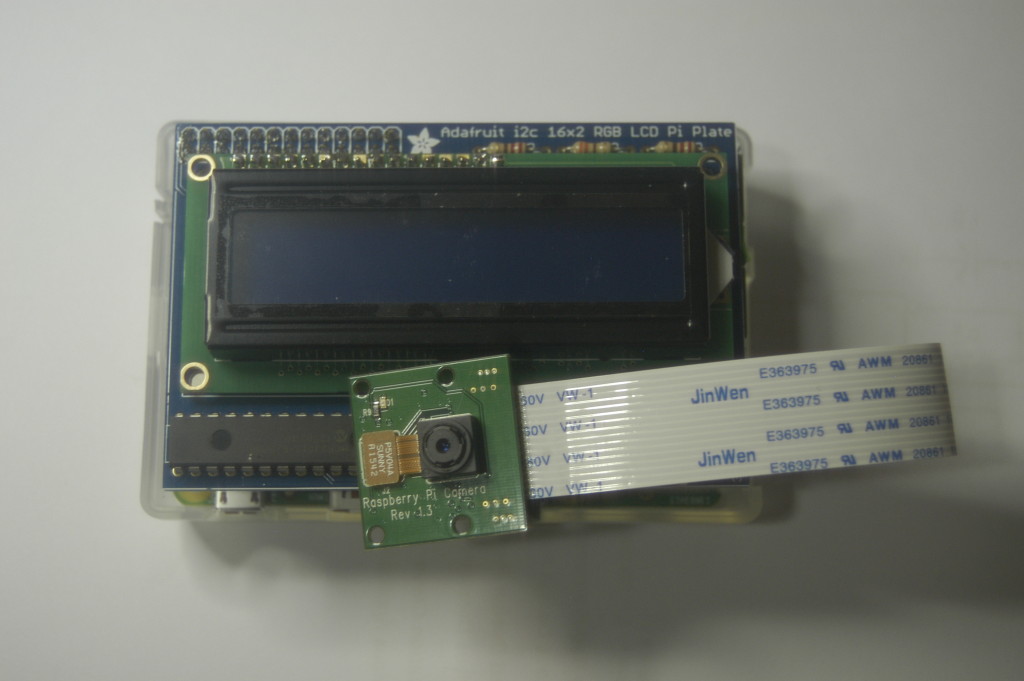
Raspberry Pi camera module attached to Pi with LCD display
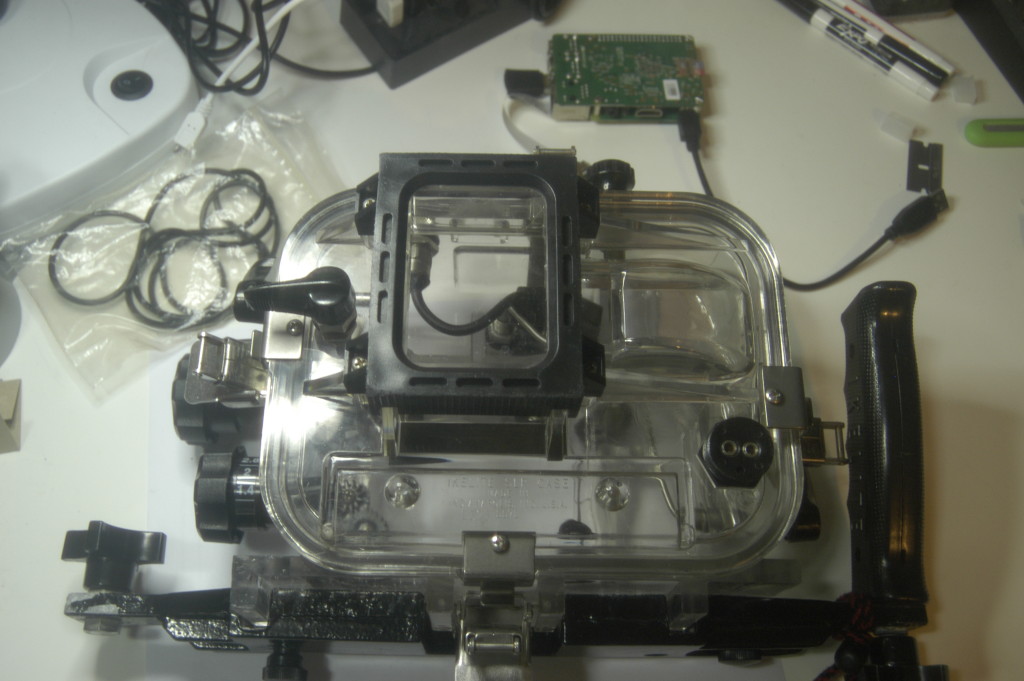
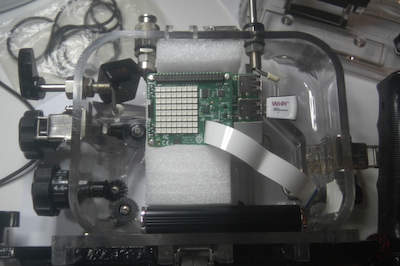
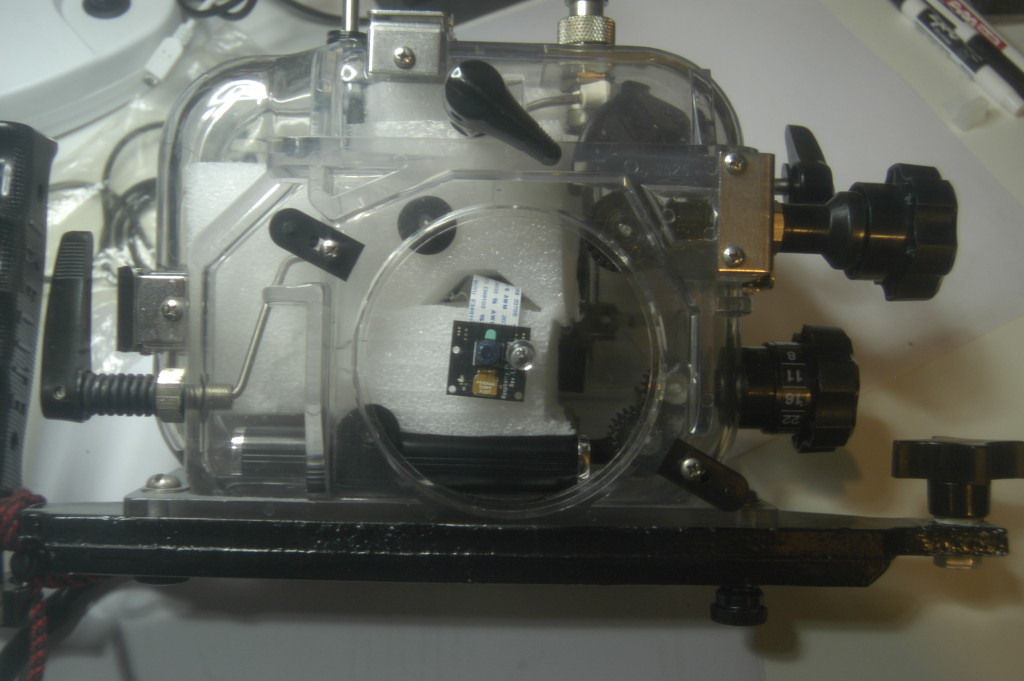
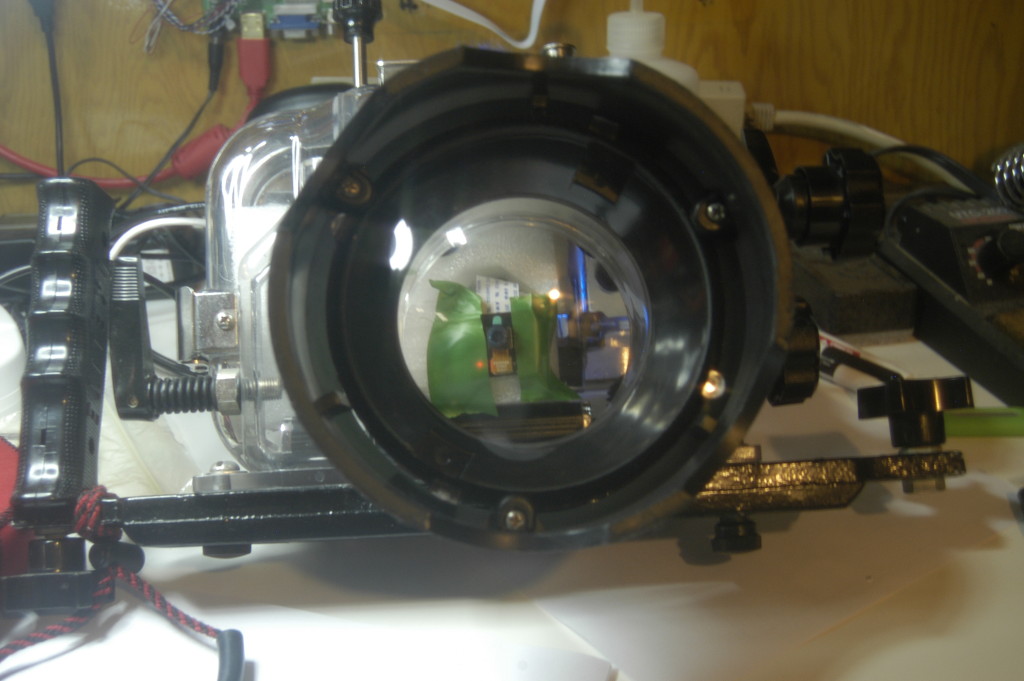
Unfortunately, the combination of devices did not play well. The LCD display seemed like a better way to display the various data from the 10-DOF IMU (inertial measurement unit; acceleration, gyro, magnetometer), but it was not to be. Before I shelved this design, I checked the sizing in the underwater housings I had available. Unfortunately, the LCD was too big to display in my camera housing and I didn’t have the Sense Hat when I first started this.
So, what happened? The Scuba Pi #1 is shelved for now. ScubaPi2 went a simpler route and then there is the ScubaPi3 with the SenseHat.