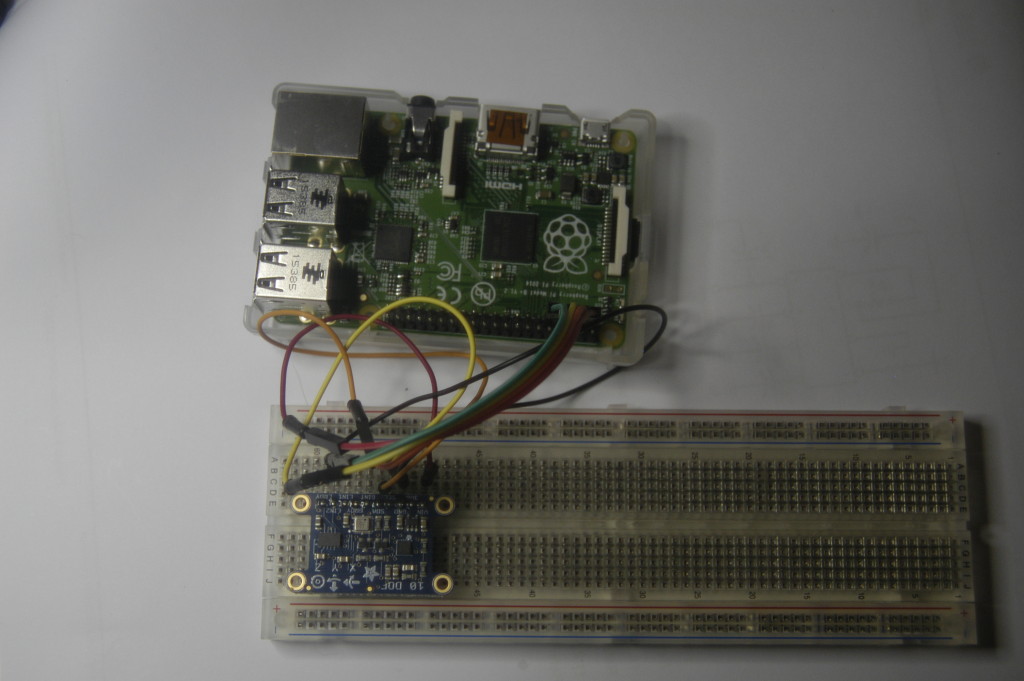
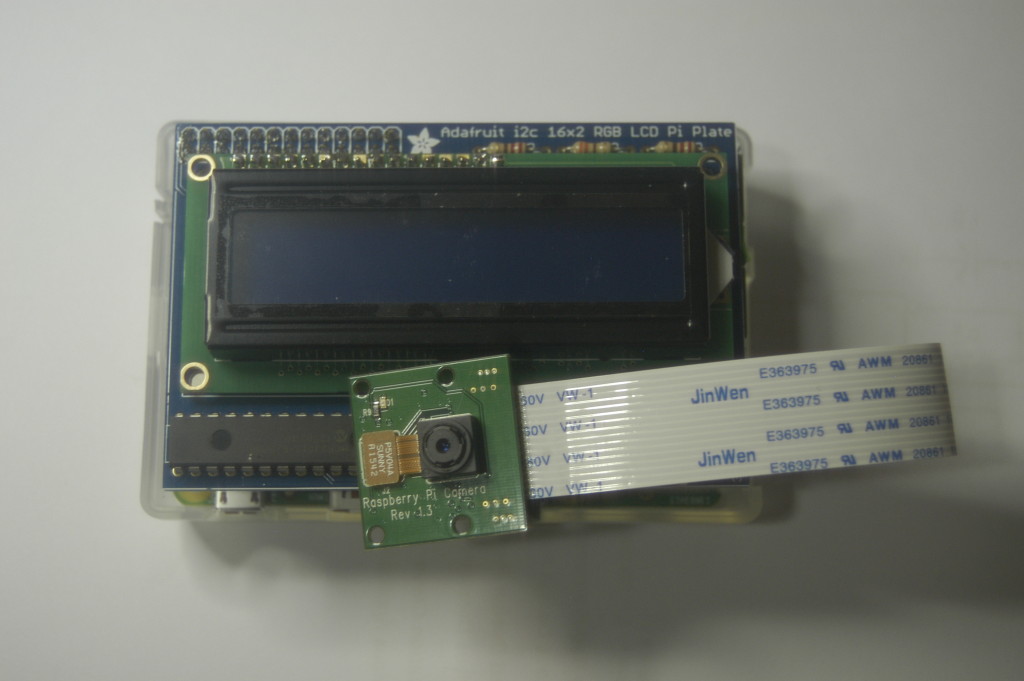
After learning a few things from the first attempt at ScubaPi, I opted for a simpler approach. Instead of adding the display and 10-DOF, I went for just the camera. This meant a smaller housing and fewer things to work with.

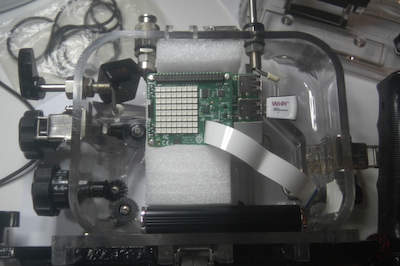
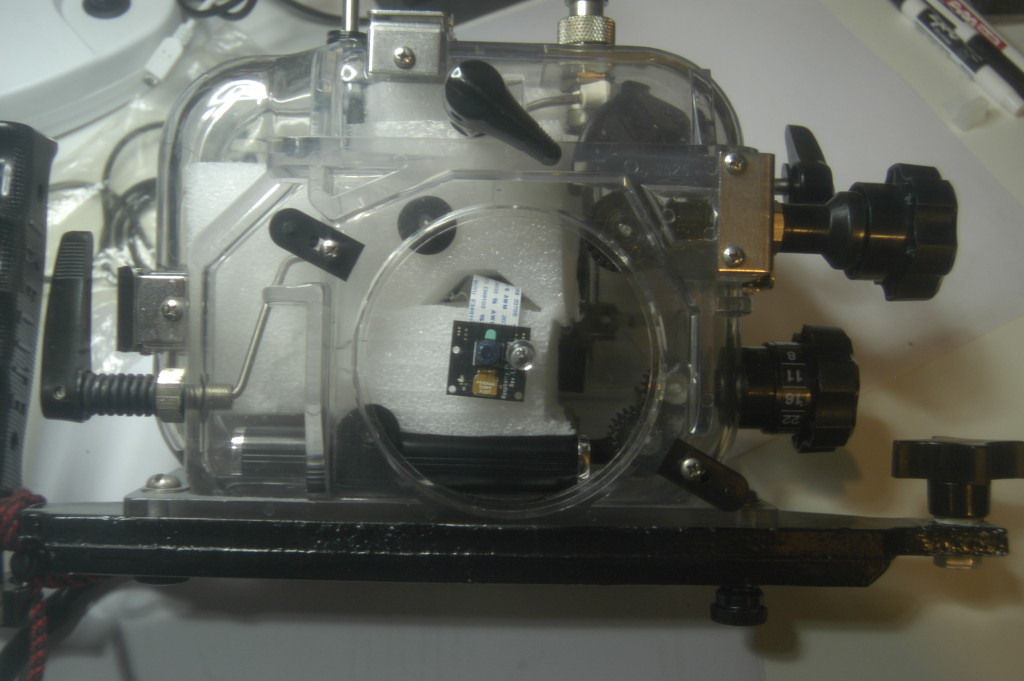
Raspberry Pi with Pi camera
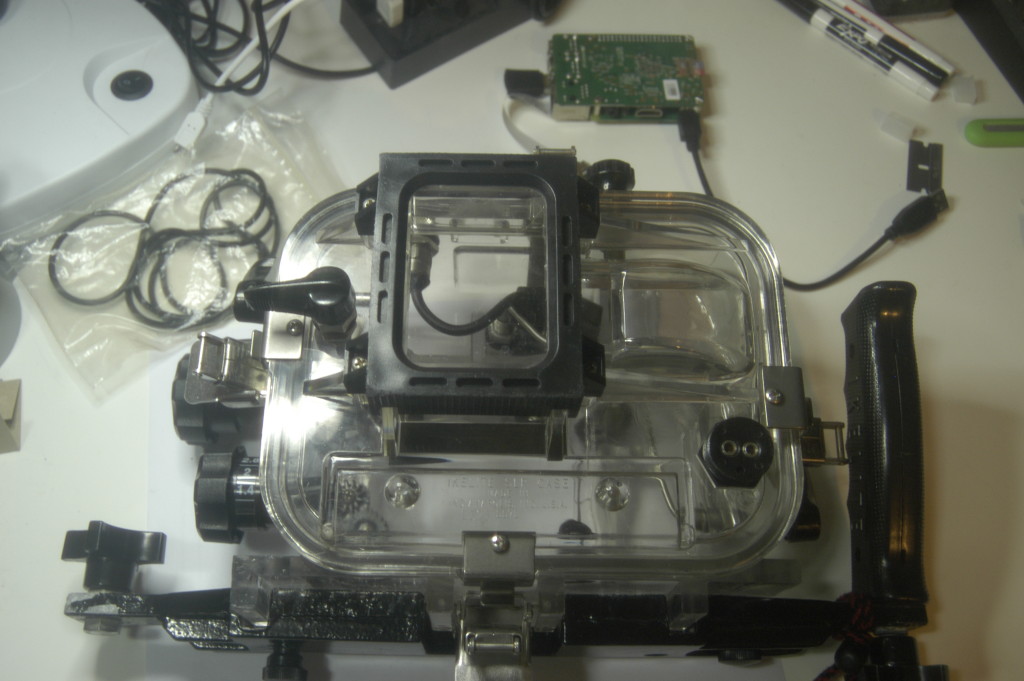
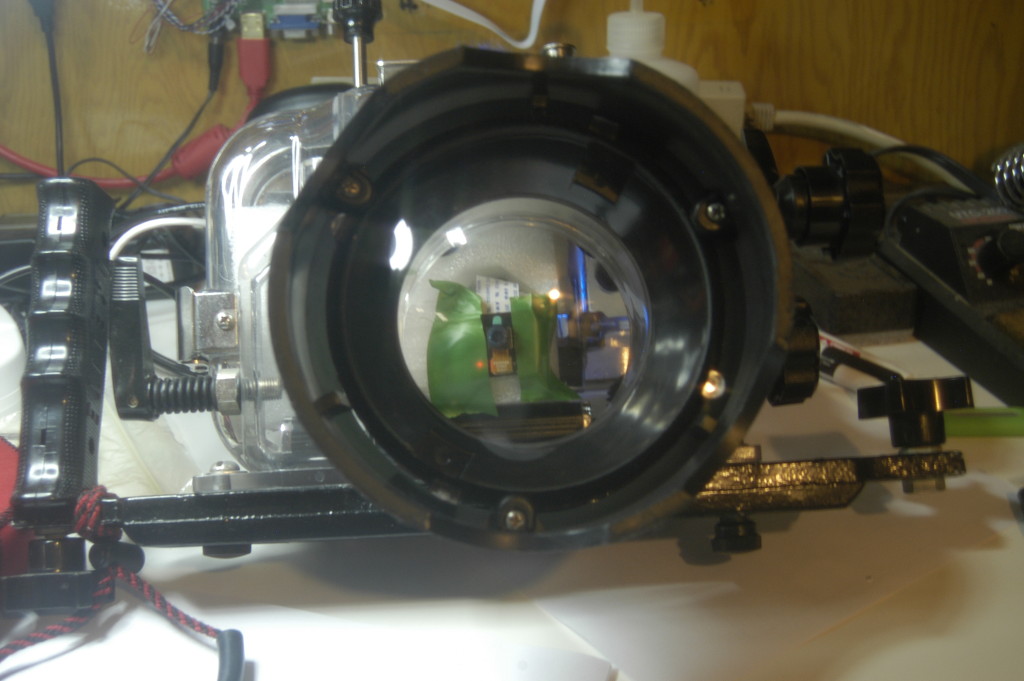
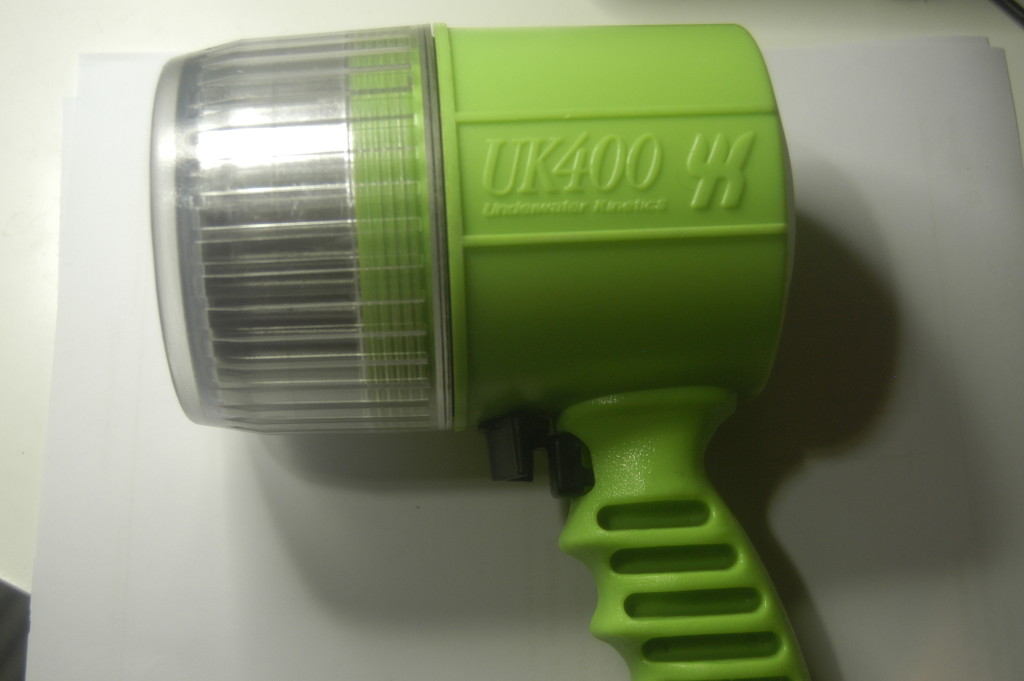
For the housing, I opted for an old dive light.
Remove the reflector and insert Raspberry Pi.
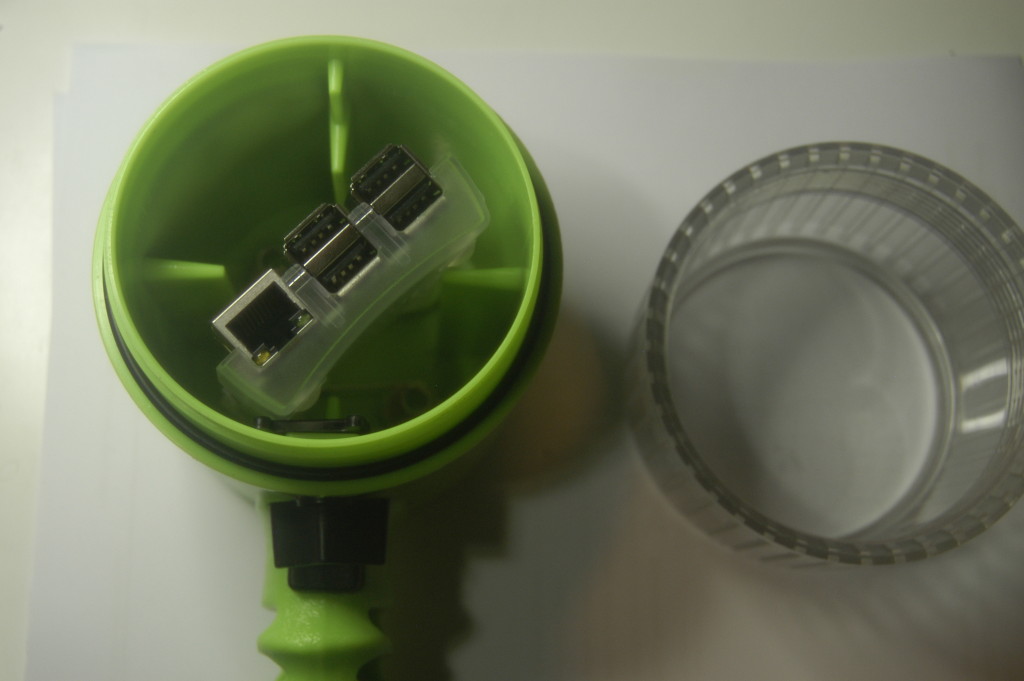
Raspberry Pi in underwater dive light
Now, the housing isn’t big enough for a conventional USB batter pack, nor does the usb power cable fit when plugged into the side of the Pi. The solution is getting a dc-dc converter and powering it off of a pair of 9 volt batteries. The DC-DC converter is fairly inexpensive; I found mine on eBay.
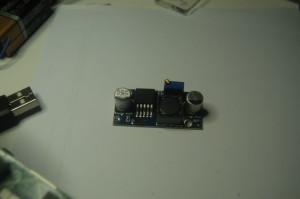
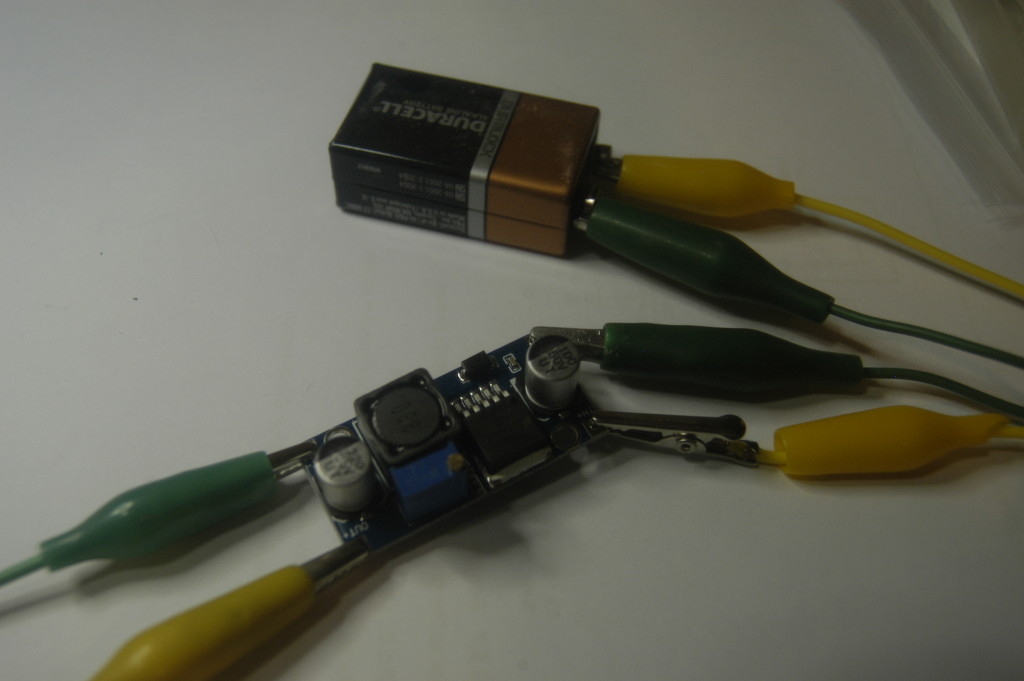
Testing & adjustment of DC-DC converter
This DC-DC converter is adjustable, so I had to adjust it down to provide a steady voltage close to 5V. I opted for a bit higher, since the voltage would drop once the Pi was attached.
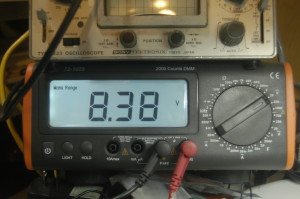
DC-DC converter output voltage before adjustment.
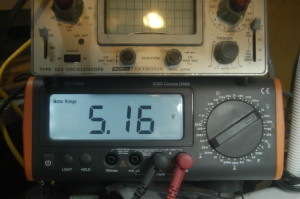
Voltage set for 5.16vdc for powering the Raspberry Pi
Now, to package it up, I used some polyethylene packing foam to keep things in place. Also, the back of the camera was insulated with electrical tape and affixed to the front of the ethernet connector.

Assembled Scuba Pi 2 in dive light housing.
I also covered the camera’s LED with a bit of tape, since I thought the light might reflect off of the inside of the dive light and mess up the photos.
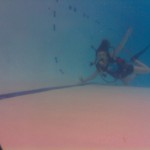
Here’s the first in-water test:
One interesting thing I’d not thought about was buoyancy. The dive light was originally designed to have four D-cell batteries in it. With the Raspberry Pi, Pi Camera and power, it wasn’t nearly as dense. The ScubaPi2 required a good amount of force to keep it down. Now, what do you do with a new camera? Take a selfie!
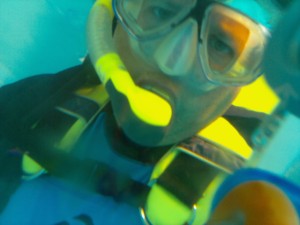
First selfie with the ScubaPi 2 underwater camera.
The color balance was a bit off, but it still worked.
Since I had no external controls, I wrote a couple of scripts to start a time-lapse series. There is an init script that starts at boot and it calls the script that takes photos every 5 seconds (5000 milliseconds). You can see the scripts in my github repository that I created for ScubaPi3
Now, I wanted to go back to my original idea–Raspberry Pi with display and inertial measurement unit (IMU). Luckily, my Sense Hat arrived and the Scuba Pi 3 was started.