The third attempt at using a Raspberry Pi underwater. [#1 didn’t make it to the water; info on #2 coming soon.]
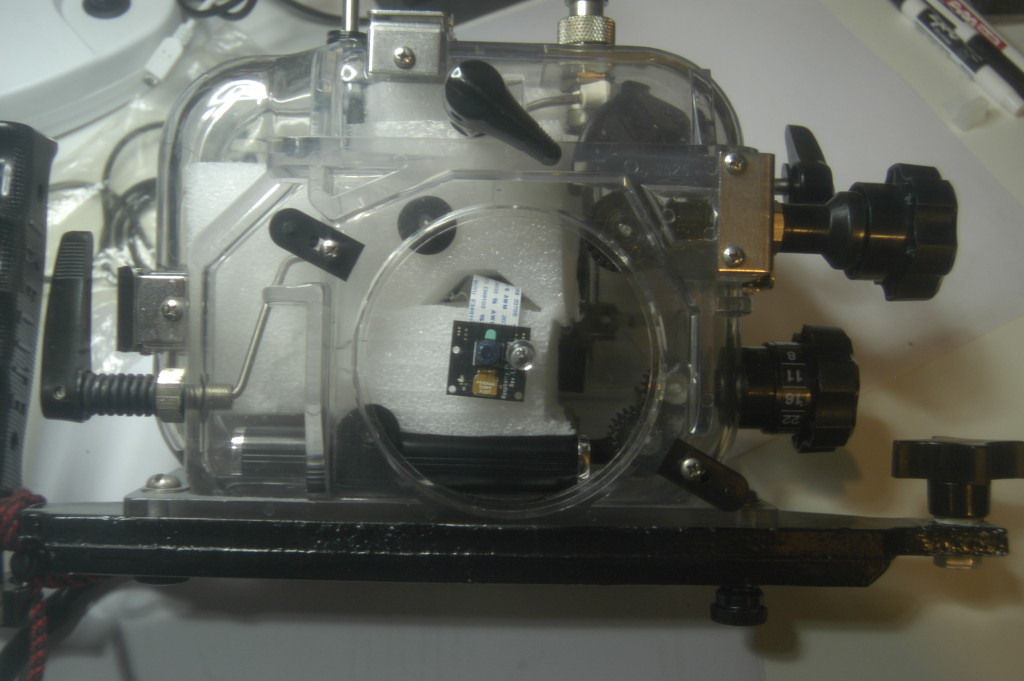
Building on experience from the first two projects, I opted to use the Sense Hat (think Astro Pi). One of the best features is that the LED matrix DIY display would fit cheap Cleveland Browns jerseys nicely in the display wholesale nfl jerseys port of an old Ikelite camera housing I had.
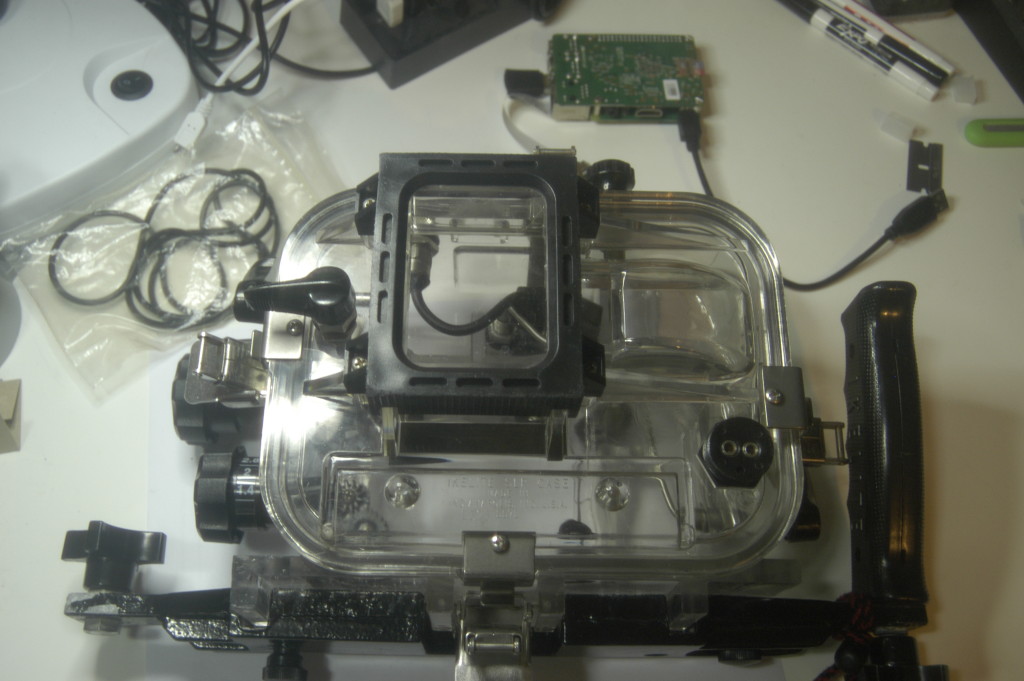
I opted to use a USB battery pack, the Pi Noir camera, Sense Hat and some polyethylene packing foam to place everything.
Here you can see the battery pack at the bottom of the housing with a block of foam between it and wholesale NFL jerseys the Raspberry Pi with the hat. So I could keep testing after I’d sealed the wholesale MLB jerseys housing, I included a WiPi wi-fi dongle. I also put a block Upcoming of foam on the top of the Pi to keep everything aligned.
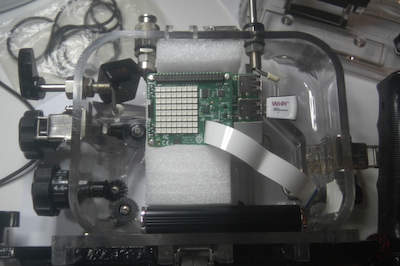
Positioning the camera was a bit tricky. The camera cable wasn’t long enough to wrap around the side, so I had to twist it and feed it under the Pi towards wholesale MLB jerseys the front of the Markup: housing.
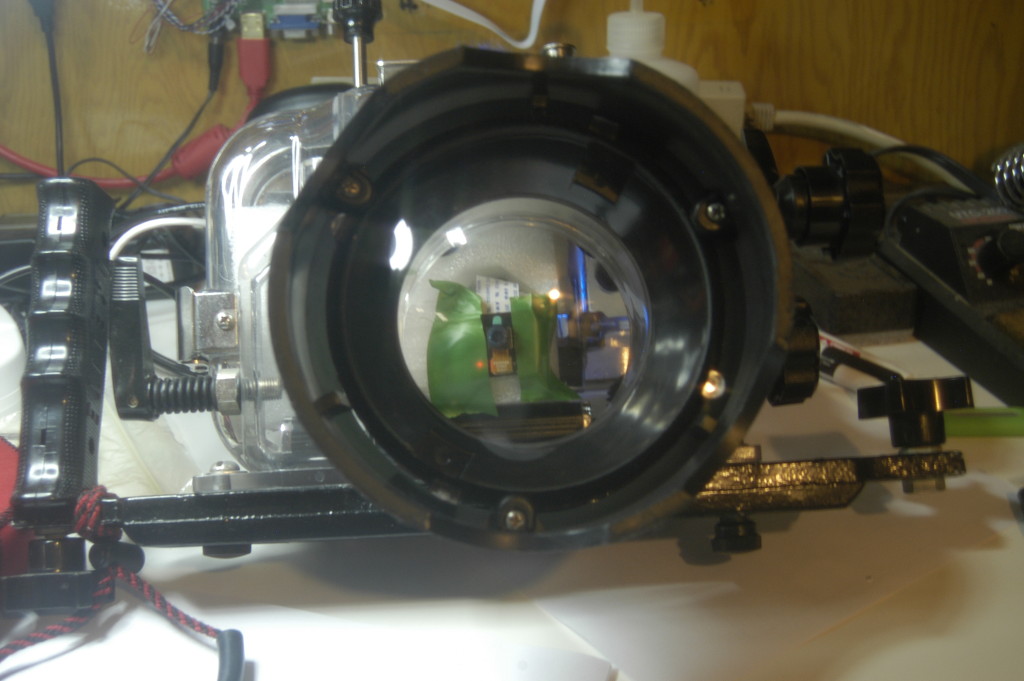
After that, time to attach the dome port on the front of the housing and take a few test photos.
I wrote a simple script Fabulously that would start at boot time to activate the camera. All it does is create a directory to store the images then run raspistill to start a timelapse sequence. I opted for images every 5 seconds for as long as the script ran.
Next, building on one of the example scripts for the SenseHat, data from the sensors can be gathered and displayed on the matrix display.

Code & scripts can be found at https://github.com/scubapi/ScubaPi3.git
NOTE: the init scripts were thrown together quickly, without the usual logic, etc.